 |
| Attempt #2 |
Attempt number 2, the soldiering goes much better. Everything it tacked in place and its beautiful right? WRONG, the knuckles were too small and thus a very flimsy hinge was created. So ends Attempt 2, with me removing the two hinges from the right side.
Attempt 3, showed more promise. I cut two knuckles to fill the gaps, I tacked them down....it was wonderful right? WRONG! Apparently the entire time that top knuckle was throwing the rest of them off. So I removed all the knuckles and went back to the drawing board with the intention of re-filing the groove and placing the knuckles back on the plates. I removed the knuckles, began to file and noticed it was no longer really square. So ends Attempt #3 with it completely in pieces in a little bag.
Attempt #4, Okay, this time I'm Going to do it RIGHT! This is my current attempt and I think according to a quote given out during the demo for hinge making, I have 1 more if I really want to learn how to do it. And, I am sure I will get there. Thanks to John Shea, I learned how to properly file today. Okay, wait let me bold that, I learned how to properly file today! This is a major deal for me. Anyway, I filed the 45 with no problems, filed in the groove and got the brilliant idea to make a template for measuring in rhino so I merely had to line up my dividers to the exact measurements. I even made one for cutting the tubing with a cut guideline so allow for filing flat and filing in the chamfer.
Attempts Completed: 3
For Tomorrow:
- Draw Down Tubing again, ran out/I want to make it slightly smaller
- Cut Tubing
- Soldier in Place
I think I have corrected a lot of the mistakes I made the first few times. The groove needs to be perfect, the pin needs to be super tight, and if its not working don't try to make it work just restart it. Also, doing all this showed me exactly how I will have to do it on my actual project so that's the better news.
BUT that's not all I did today.
Last night, I finished cutting out my official die for the project! This morning, I put it all together, filed it nicely and started my pressings. Okay, so the die is not as perfect as I wanted; however, it is doing exactly what I want so as long as its working I don't want to change it.


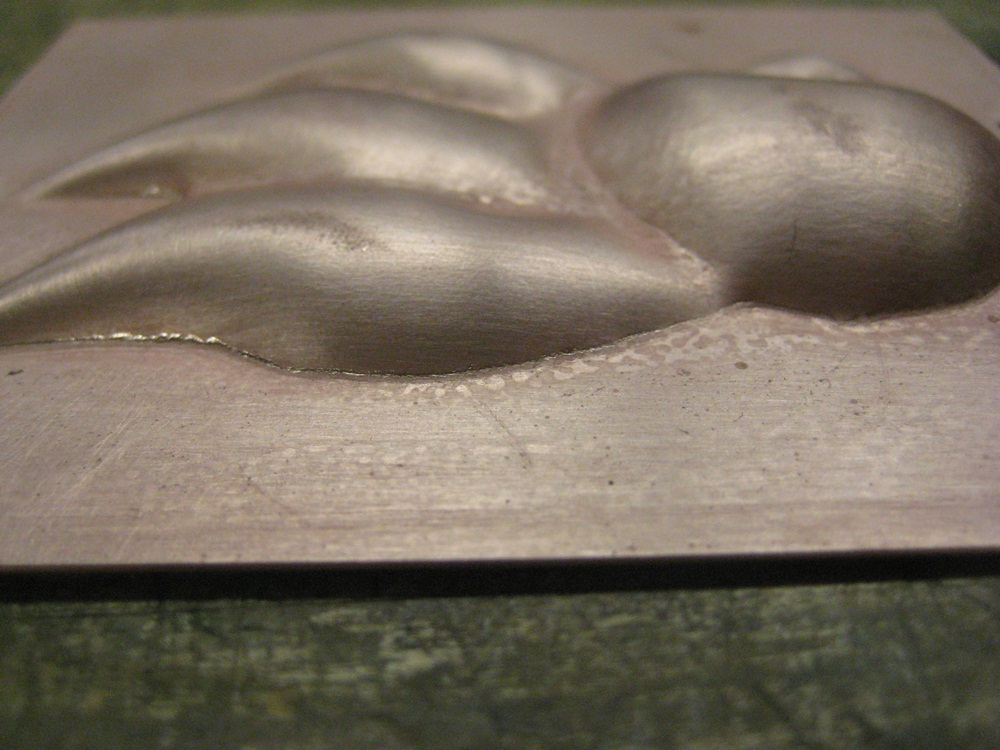
So far, just testing to get the exact pressures right for the actual piece. I also began to draw out the patterns with the resist onto the 18ga copper. I decided to go with 18 because it will be etched on both sides which will thin the metal considerably. I am thinking of testing it with both 18 and 20 ga to see which is the best result. I want to have the same flower pattern on the inside the each part of the outside will be different to show her different personalities.
